
How to build an iOS AR Image Tracking Application in around 5 minutes!
Simple iOS AR app tutorial


Hey all, today i'll be showing you a simple AR image tracking app that you can download and play around with to further your understanding of image tracking with ARKit.
If you want to watch this tutorial instead, click this link Youtube Tutorial
Else, for this tutorial, I am assuming you are familiar with XCode and Swift but are new to AR. I recommend you download the source code to follow these instructions.
Let's begin!
Step 1 : New project > Augmented Reality Application

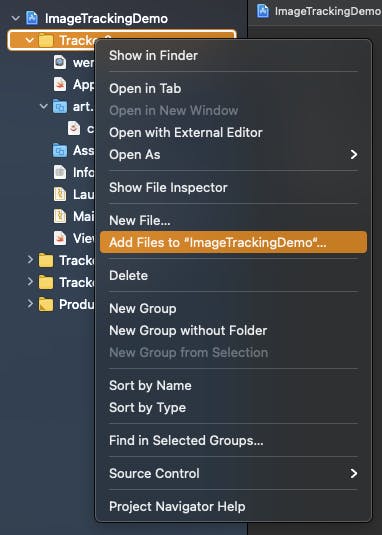
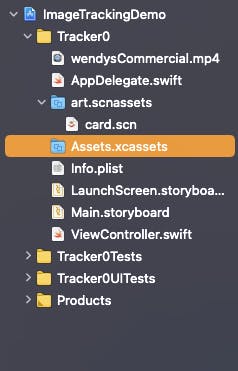
Step 2 : Find an mp4 video from the internet, download it and upload it to your project. Find the folder where your View Controller is and right click > Add Files to "filename" > add your video.
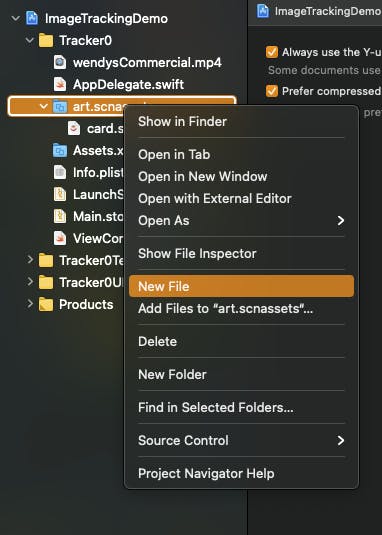
 Step 3 : Navigate to the art.scnassets folder and create a new scene ".scn" file called "card"
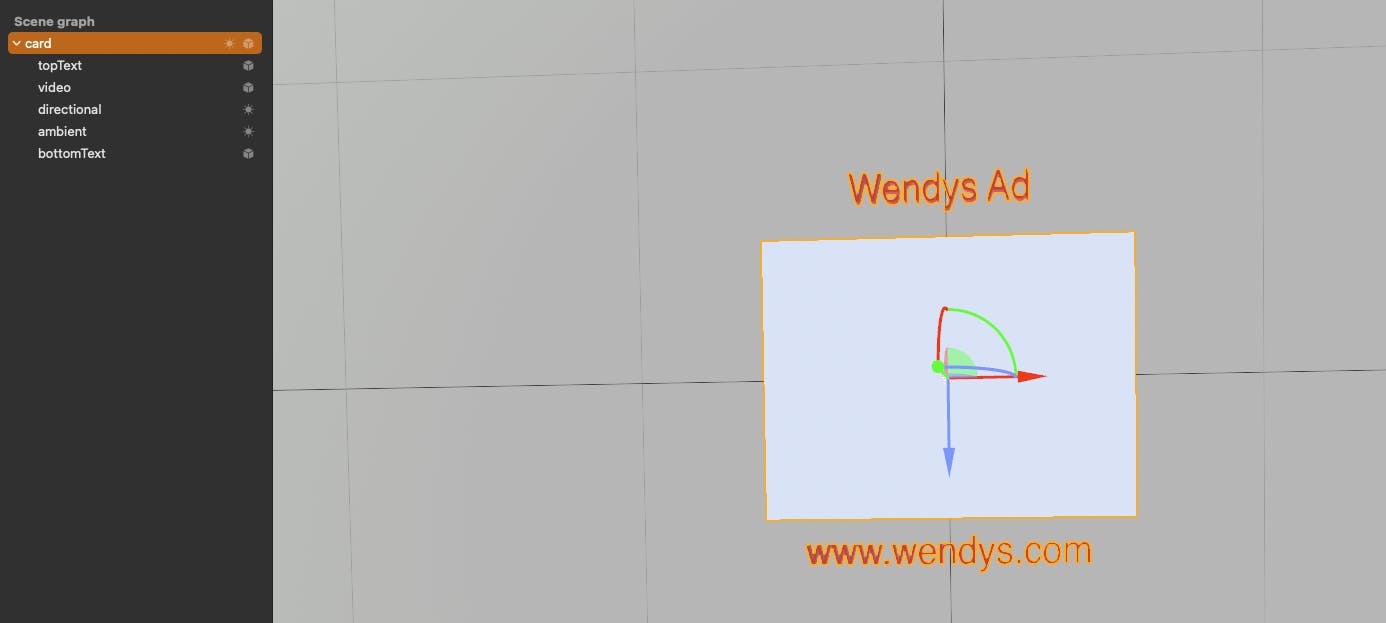
Step 4 : Add 3D text object to the scene for your top text
Step 5 : Add a Plane object to the scene for your video to lay over
Step 6 : Add a Directional light object to the scene for aesthetic enhancement
Step 7 : Add a Ambient light object to the scene for aesthetic enhancement
Step 8 : Add 3D text object to the scene for your bottom text
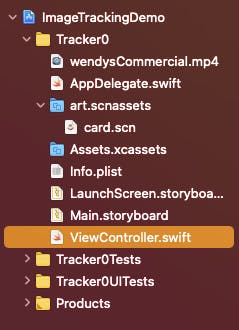
Step 9 : Navigate to the ViewController.swift file and begin coding
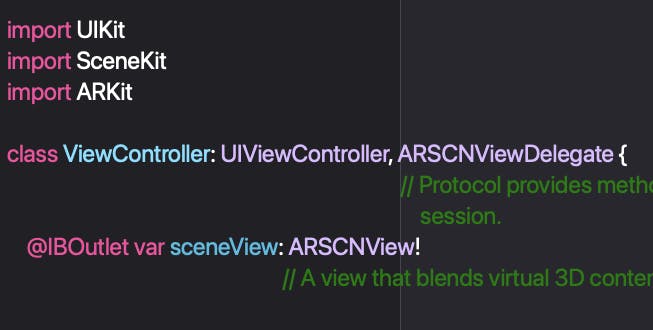
Step 10 : Import UIKit, SceneKit, and ARKit
Step 11 : Add ARSCNViewDelegate protocol to your class
Step 12 : Create a scene view outlet using ARSCNView
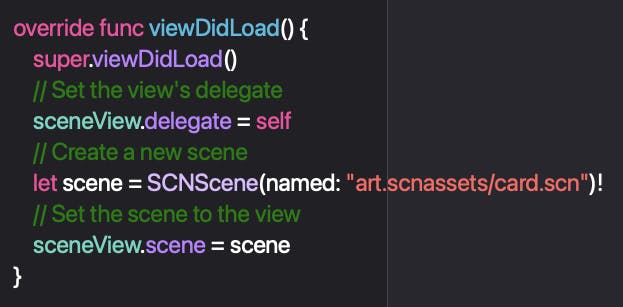
Step 13 : Navigate to the viewDidLoad() function and Set the view's delegate and create a new scene using the "art.scnassets/card.scn" we created earlier
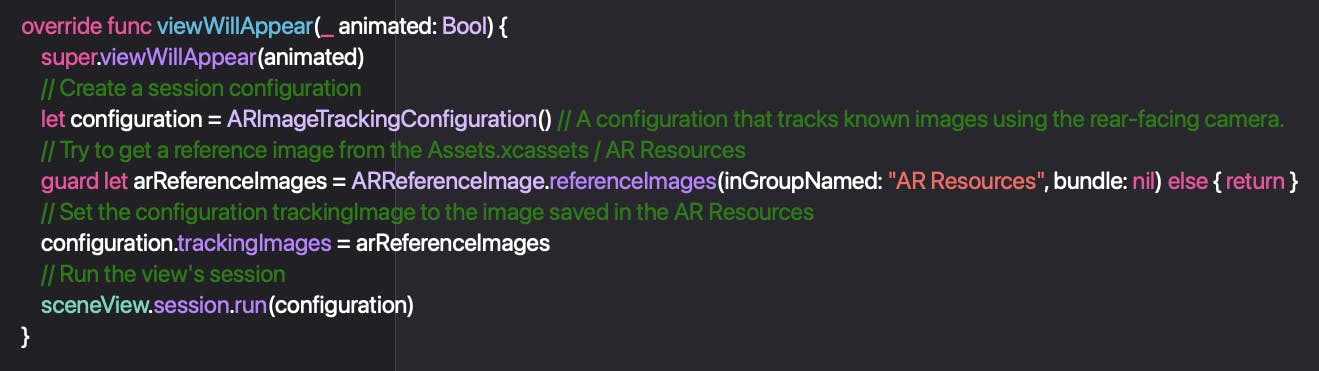
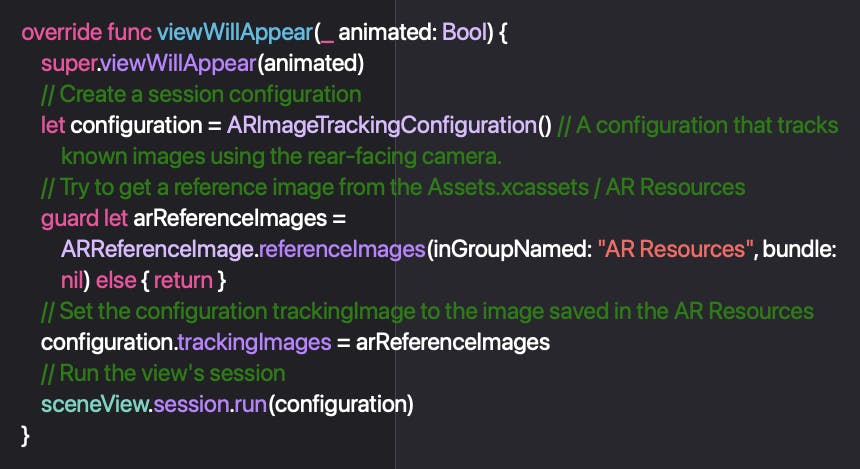
Step 14 : Create a viewWillAppear function
Step 15 : Create a session configuration using ARImageTrackingConfiguration()
Step 16 : Create a guard statement to try to get a reference image from the "AR Resources" folder where we will add the image we want to track
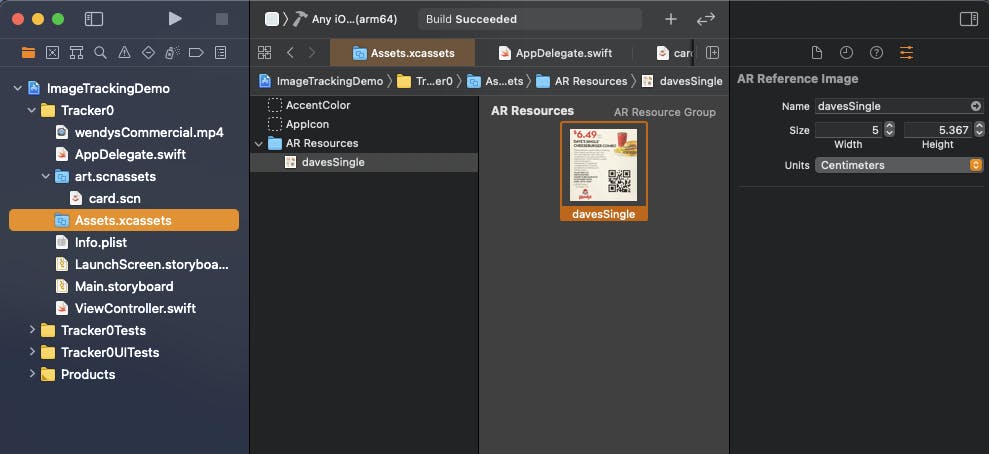
Step 17 : Navigate to Assets.xcassets.
Step 18 : Click on AR Resources folder and add your image. Give it a name , size width, height , and units of measurements
Step 19 : Create a viewWillAppear function
Step 20 : Create a session configuration using ARImageTrackingConfiguration(). This will allow you to track known images using the rear-facing camera.
Step 21 : Create an ARReferenceImage
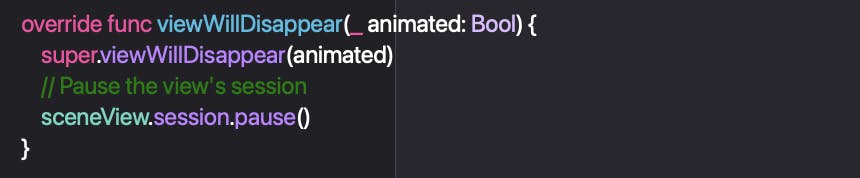
Step 22: Create a viewWillDisappear function and pause the session when the function is called.
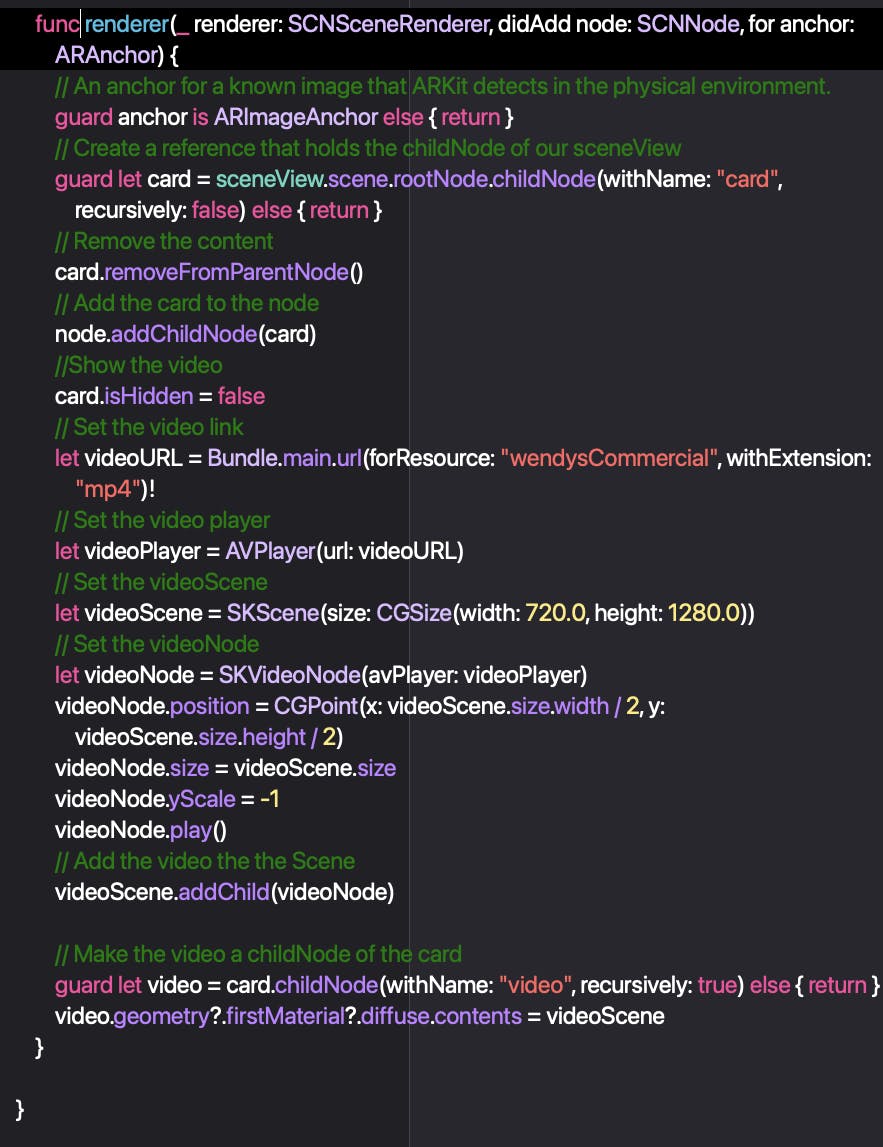
Step 23: Create a renderer function that takes a SCNSceneRender , a SCNNode, and an ARAnchor as parameters

Step 24: In the render function set an anchor for a known image that ARKit detects in the physical environment

Step 25: Create a reference that holds the childNode of the sceneView we created

Step 26: Remove the ParenNode from card scene

Step 27: Add the card scene to the node

Step 28: Show the contents of the card

Step 29: Create a videoURL by linking the video we added earlier

Step 30: Create an AVPlayer

Step 31: Create an SKScene with width 720, height 1280

Step 32: Create an SKVideoNode and pass in the avPlayer
Step 33: Set the position, size , and yScale to your SKVideoNode
Step 34: Play your SKVideoNode and add the SKScene to the SKVideoNode

Step 35: Lastly create a childNode to card and set the SKScene as the content
Step 36: Your renderer function should look like this
And you are done! Run the app and you should see your video and text displaying when the image you put in appears infront of the rear facing camera.
Thank you for following this tutorial and I wish you a nice day!
Github repo : github.com/khal0160/ARImageTracking.git
Youtube video : youtu.be/8w8y_Q6e23U