


Hey all, today i'll be showing you a simple AR face tracking app that you can download and play around with to further your understanding of face tracking with ARKit.
If you want to watch the tutorial instead, click this link Youtube Tutorial
Else, for this tutorial, I am assuming you are familiar with XCode and Swift but are new to AR. I recommend you download the source code to follow these instructions.
Let's begin!
Step 1 : New project > Augmented Reality Application

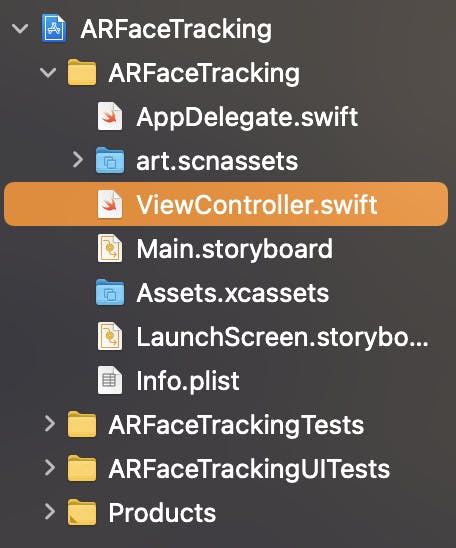
Step 2 : Navigate to ViewController.swift
Step 3 : Import SceneKit, Import ARKit

Step 4: Add ARSCNViewDelegate Protocol to class

Step 5 : Create a scene variable using ARSCNView

Step 6 : Create a UILabel

Step 7 : Create an empty string variable

Step 8 : Create viewDidLoad() and set the sceneView delegate

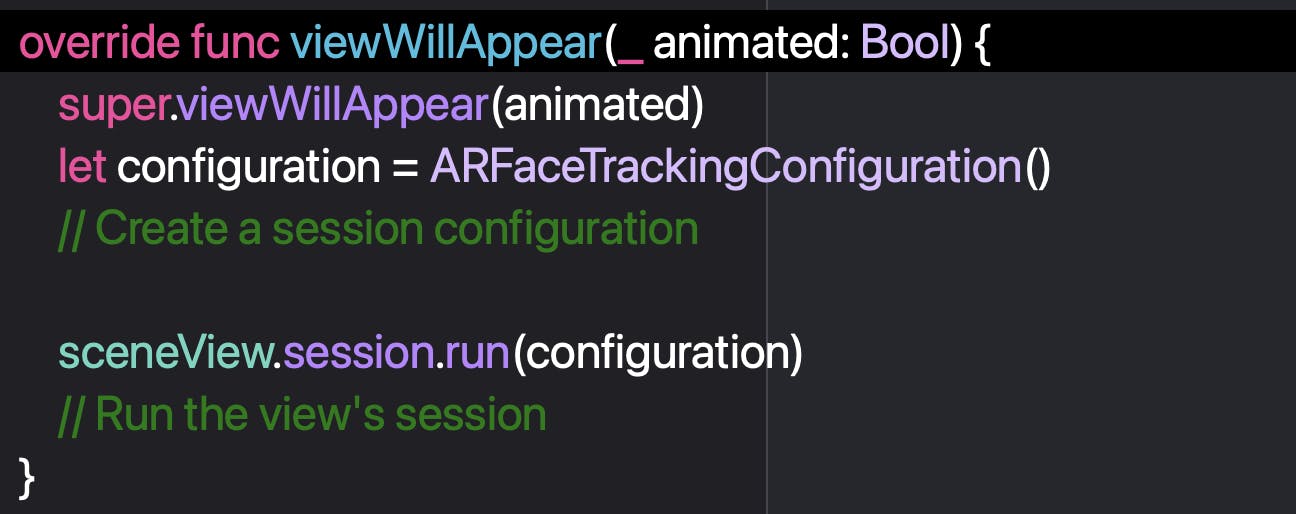
Step 9 : Create viewWillAppear()
Step 10 : Create a session configuration using ARFaceTrackingConfiguration()
Step 11 : Run the configuration
Step 12 : Create a viewWillDisappear function

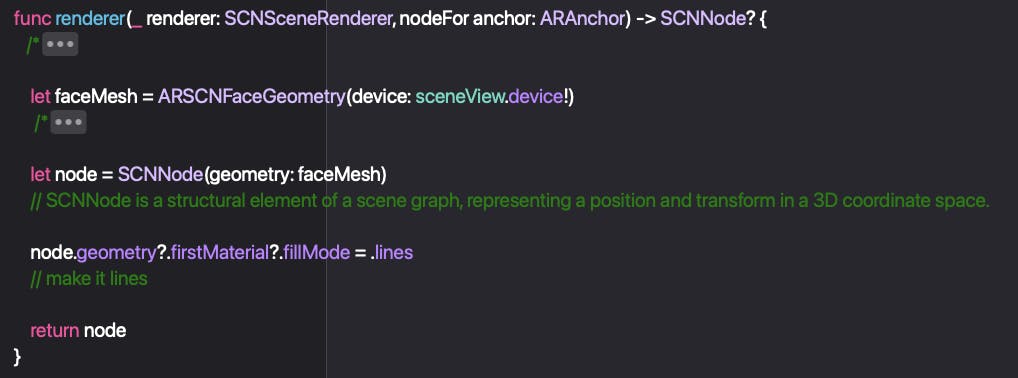
Step 13: Create a renderer method to provide a new SCNNode object

Step 14 : Create a ARSCNFaceGeometry object

Step 15 : Create a SCNNode and feed it the object

Step 16 : Make the SCNNode geometry fill with lines
Step 17: Create a renderer method to tell the delegate that a SceneKit node's properties have been updated

Step 18 : Add an if statement to detect everytime the face mesh has a change

Step 19 : Run a method we will add after this function that takes an ARFaceAnchor as a prameter

Step 20 : Update the bottomLabel on the main thread

Step 21: Create a readMyFace function that takes an ARFaceAnchor as a parameter

Step 22 : Define different anchors utilizing classes in the imported kits

Step 23 : Set the bottomText to "You are still faced" as soon as the function is implemented

Step 24 : Create different if statements that check for changes in the anchor values and updates the bottomText value accordingly

And you are done!
Run the app and you should see your face covered in a geometrical mesh, with a bottom label reading your facial expressions.
Thank you for following this tutorial and I wish you a nice day!
Repository : github.com/khal0160/ARFaceTracking.git
Youtube video : youtu.be/eeA06alRcMs
Thank you